

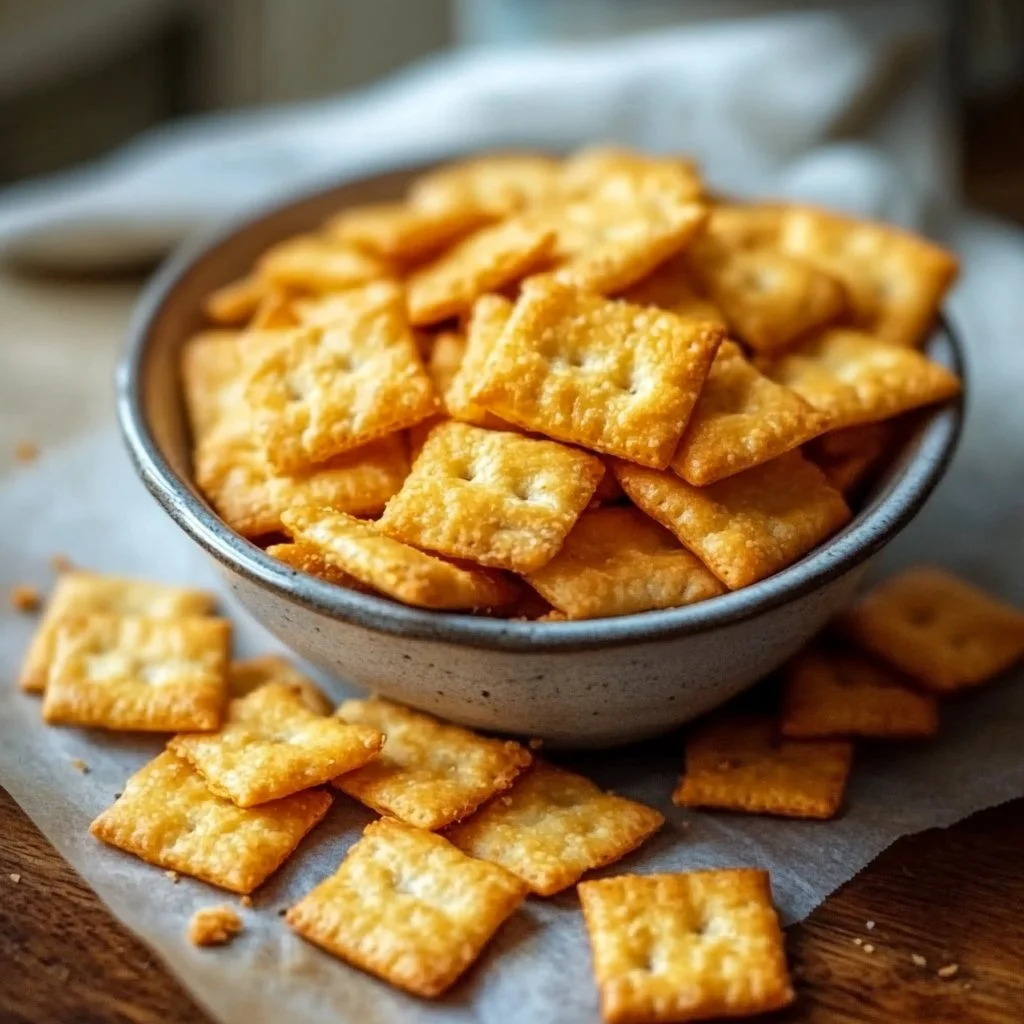
Making Homemade Cheez-Its gives you warm, crunchy crackers made from real cheese. These snacks taste fresh and have a rich cheddar flavor you can control. The recipe uses simple pantry items and mixes quickly into a soft dough. You roll the dough thin, cut neat squares, and bake until light golden. The small holes in each cracker help them cook crisp and hold their bright shape. A light brush of oil and a sprinkle of salt make the top shiny and tasty. You can change spice or cheese types to make new flavors at home. Kids can help press the dough and poke the holes, so this is a fun activity for the family. The crackers keep well for snacking during the week and travel easily in a jar or bag. If you like simple snacks, try pairing these crackers with a warm bowl of homemade chicken soup. These Homemade Cheez-Its beat store-bought versions when you want a fresh, flaky bite and control over ingredients. The steps are clear and the result feels special for little moments or large gatherings. Store leftovers in a sealed container and enjoy them within a week for best crunch and quick snacks daily.
Why You’ll Love This Homemade Cheez-Its
These Homemade Cheez-Its use real sharp cheddar for bold flavor that fills each bite. You control the salt and can make them milder or stronger. The dough comes together fast with a few common ingredients. Rolling thin and cutting into small squares makes a light, crisp cracker every time. They bake evenly and have a toasted edge that adds extra taste. Kids and adults like the crunchy, cheesy texture. You can change spices, swap cheeses, or add seeds for a new twist. Homemade crackers also let you skip unwanted additives found in many store snacks and save some money too.
How to Make Homemade Cheez-Its
Ingredients You’ll Need
- ¼ cup unsalted butter (room temperature)
- 8 oz. sharp cheddar cheese (shredded)
- 1 ¼ cups all-purpose flour
- 1 teaspoon kosher salt + more for topping
- 2-3 tablespoons cold water
- 2 tablespoons olive oil
Step-by-Step Directions
- Place the butter and shredded cheddar cheese into a mixing bowl.
- Mix on medium/high speed for 4-5 minutes until smooth and fluffy.
- In another bowl, whisk together the flour and salt.
- Slowly add the flour mixture to the cheese mixture and mix on low speed until a dry crumble forms.
- Gradually add cold water by the teaspoon until the dough starts forming.
- Shape the dough into a ball and flatten it into a disk.
- Wrap the dough in plastic wrap and refrigerate for at least 1 hour.
- Preheat the oven to 375ºF.
- Roll out the dough on parchment paper into a rectangle less than ⅛ inch thick.
- Make 1-inch marks vertically and horizontally with a ruler to create a grid.
- Cut along the lines with a pizza cutter or pastry cutter to make squares.
- Use a wooden skewer to poke small holes in the center of each square.
- Move the parchment paper to a baking sheet, ensuring the squares aren’t touching.
- Brush each square with olive oil and sprinkle with kosher salt.
- Bake for 15-17 minutes or until they start to brown.
- Remove from the oven and transfer the parchment paper to a cooling rack.
How to Serve Homemade Cheez-Its
Serve these crackers warm or at room temperature. They make a great snack with fresh fruit, sliced veggies, or plain to enjoy the cheddar flavor. For a cozy pairing, place a small bowl of soup nearby and let people dunk or nibble with the crackers; they go well with a simple bowl of homemade chicken soup. Arrange on a plate for a party or pack them in a small container for a quick snack on the go.
How to Store Homemade Cheez-Its
Let the crackers cool completely before storing. Keep them in an airtight container or a sealed jar at room temperature. They stay crisp for about one week. If they soften, return them to a low oven for a few minutes to crisp up again.
Tips for the Best Homemade Cheez-Its
- Chill the dough well so it rolls thin without sticking.
- Roll to less than 1/8 inch for the best crunch.
- Use sharp cheddar for strong flavor; grate it finely for even mixing.
- Poke holes before baking so they crisp evenly.
- Watch the oven near the end of baking to avoid over-browning.
Recipe Variations (if any)
- Add a pinch of cayenne or smoked paprika for a spicy kick.
- Swap half the cheddar for parmesan for a nutty twist.
- Mix in dried herbs like rosemary or thyme for savory notes.
- Stir in sesame or poppy seeds before baking for extra texture.
Frequently Asked Questions (FAQs)
Q: Can I use pre-shredded cheese?
A: Yes, you can. Freshly shredded cheese melts more smoothly, but pre-shredded works in a pinch.
Q: How thin should I roll the dough?
A: Aim for less than 1/8 inch. Thinner dough makes crisper crackers.
Q: Can I freeze the dough?
A: Yes. Wrap the disk tightly and freeze up to one month. Thaw in the fridge before rolling.
Q: How long do the crackers keep?
A: Stored in an airtight container, they stay crisp for about a week.
Conclusion
For another take on homemade crackers and tips, see the full guide at Good Food Stories Homemade Cheez-Its recipe. For a different technique and extra variations, check the Crowded Kitchen Homemade Cheez-Its recipe.
Print
Homemade Cheez-Its
Enjoy homemade Cheez-Its with a crispy texture and sharp cheddar flavor, customizable with your favorite spices.
- Total Time: 32 minutes
- Yield: 4 servings
Ingredients
- ¼ cup unsalted butter (room temperature)
- 8 oz. sharp cheddar cheese (shredded)
- 1 ¼ cups all-purpose flour
- 1 teaspoon kosher salt + more for topping
- 2-3 tablespoons cold water
- 2 tablespoons olive oil
Instructions
- Place the butter and shredded cheddar cheese into a mixing bowl.
- Mix on medium/high speed for 4-5 minutes until smooth and fluffy.
- In another bowl, whisk together the flour and salt.
- Slowly add the flour mixture to the cheese mixture and mix on low speed until a dry crumble forms.
- Gradually add cold water by the teaspoon until the dough starts forming.
- Shape the dough into a ball and flatten it into a disk.
- Wrap the dough in plastic wrap and refrigerate for at least 1 hour.
- Preheat the oven to 375ºF.
- Roll out the dough on parchment paper into a rectangle less than ⅛ inch thick.
- Make 1-inch marks vertically and horizontally with a ruler to create a grid.
- Cut along the lines with a pizza cutter or pastry cutter to make squares.
- Use a wooden skewer to poke small holes in the center of each square.
- Move the parchment paper to a baking sheet, ensuring the squares aren’t touching.
- Brush each square with olive oil and sprinkle with kosher salt.
- Bake for 15-17 minutes or until they start to brown.
- Remove from the oven and transfer the parchment paper to a cooling rack.
Notes
Chill the dough well for easy rolling. For best crunch, ensure the dough is less than 1/8 inch thick.
- Prep Time: 15 minutes
- Cook Time: 17 minutes
- Category: Snack
- Method: Baking
- Cuisine: American
- Diet: Vegetarian
Nutrition
- Serving Size: 1 serving
- Calories: 150
- Sugar: 1g
- Sodium: 120mg
- Fat: 10g
- Saturated Fat: 5g
- Unsaturated Fat: 3g
- Trans Fat: 0g
- Carbohydrates: 12g
- Fiber: 0g
- Protein: 4g
- Cholesterol: 20mg